ROOT has a simple built-in graphics editor to draw and edit basic primitives starting from an empty canvas or on top of a picture (eg. histogram).
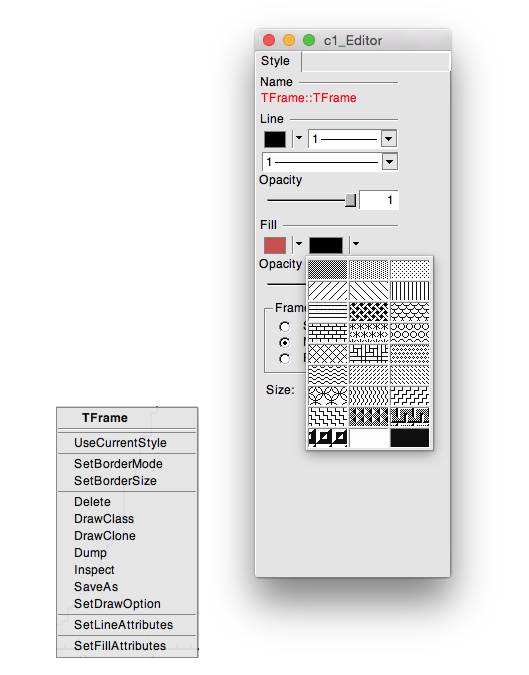
The editor is started by selecting the Editor item in the canvas Edit menu. A menu appears into an independent window ( see in the picture below).
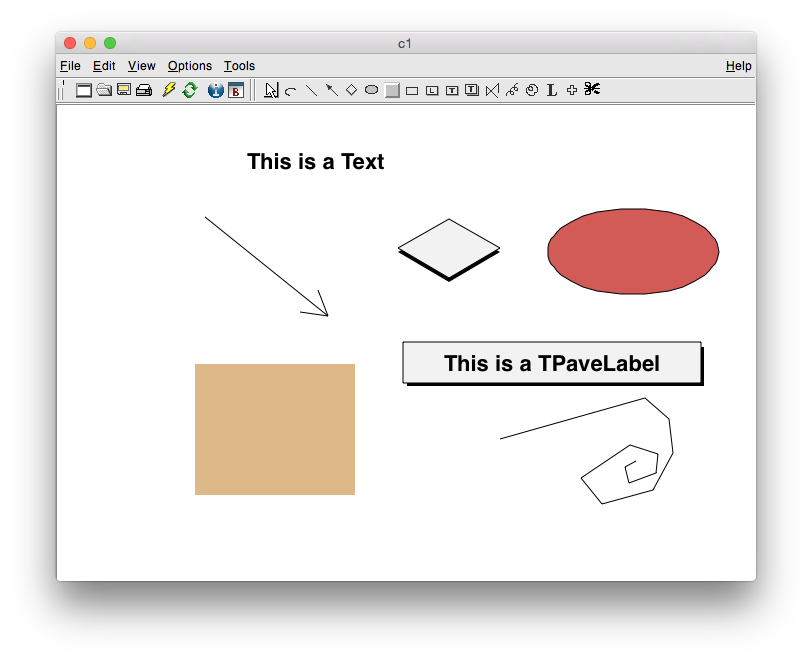
You can create the following graphics objects:
- An arc of circle. Click on the center of the arc, then move the moose. A rubberband circle is shown. Click again with the left button to freeze the arc.
- An arrow. Click with the left button at the point where you want to start the arrow, then move the moose and click again with the left button to freeze the arrow.
- A diamond. Click with the left button and freeze again with the left button. The editor draws a rubber band box to suggest the outline of the diamond.
- An ellipse. Proceed like for an arc. You can grow/shrink the ellipse by pointing to the sensitive points. They are highlighted. You can move the ellipse by clicking on the ellipse, but not on the sensitive points. If, with the ellipse context menu, you have selected a fill area color, you can move a filled-ellipse by pointing inside the ellipse and dragging it to its new position. Using the contextmenu, you can build an arc of ellipse and tilt the ellipse.
- A Pad. Click with the left button and freeze again with the left button. The editor draws a rubber band box to suggest the outline of the pad.
- A PaveLabel. Proceed like for a pad. The type in the label to be put in the box. Then type carriage return. The text will be redrawn to fill the box.
- A PaveText or PavesText. Proceed like for a pad. You can then click on the PaveText object with the right moose button and select the option AddText.
- A PolyLine. Click with the left button for the first point, move the moose, click again with the left button for a new point. Close the polyline with a double-click. To edit one vertex point, pick it with the left button and drag to the new point position.
- A text string. Click with the left button where you want to draw the text, then type in the text terminated by carriage return. To move the text, point on it keeping the left moose button pressed and drag the text to its new position. You can grow/shrink the text if you position the moose to the first top-third part of the string, then move the moose up or down to grow or shrink the text respectively. If you position near the bottom-end of the text, you can rotate it.
You can edit an existing object in a canvas by clicking with the right moose button on this object. A pop-up menu is shown with a list of possible actions on this object. You will notice that most graphics objects derive from one or several attribute classes TAttLine, TAttFill, TAttText or TAttMarker.
You can edit these attributes by selecting the corresponding item in the pop-up menu. For example selecting SetFillAttributes displays a panel with the color palette and fill area types. The name and class of the object being edited is shown in the bar title of the panel.
Once you are happy with your picture, you can select the Save as canvas.C item in the canvas File menu. This will automatically generate a macro with the C++ statements corresponding to the picture. This facility also works if you have other objects not drawn with the graphics editor (histograms for example).